Pools
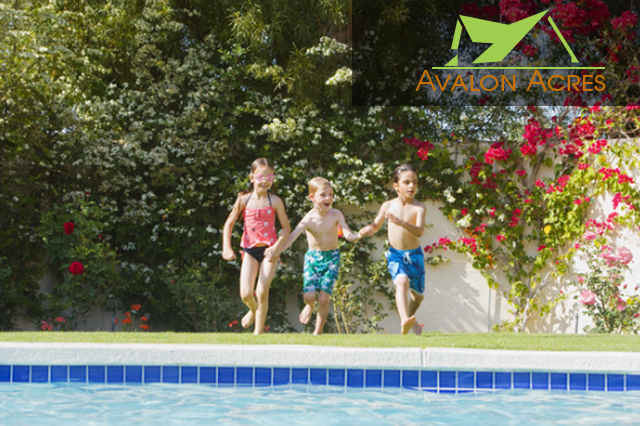
We have a talented team who can design the pool of your dreams.
Fireplaces
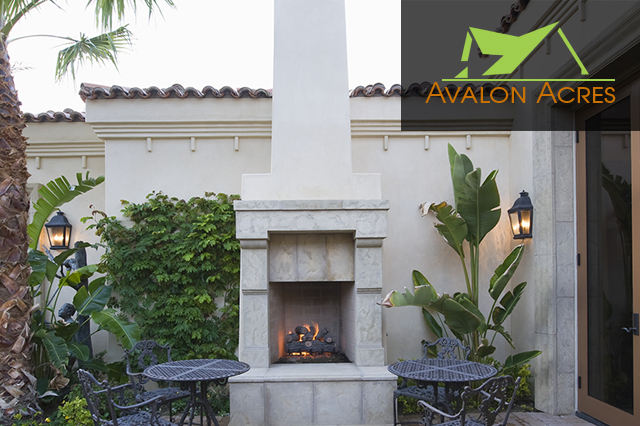
We can add very sophisticated fireplaces for you to your backyard.
Outdoor kitchens
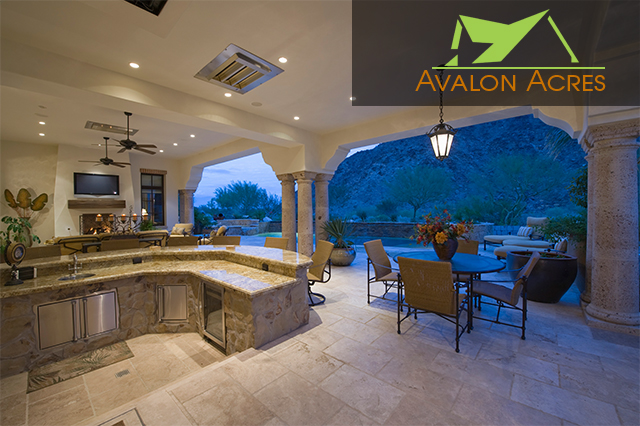
The backyard is the perfect place for barbecues. It’s a place to enjoy.
Screen enclosures
Screen rooms can keep away mosquitoes and other insects so that you can enjoy your time in the backyard.